Complete Guide to Chinese Money Plant Propagation
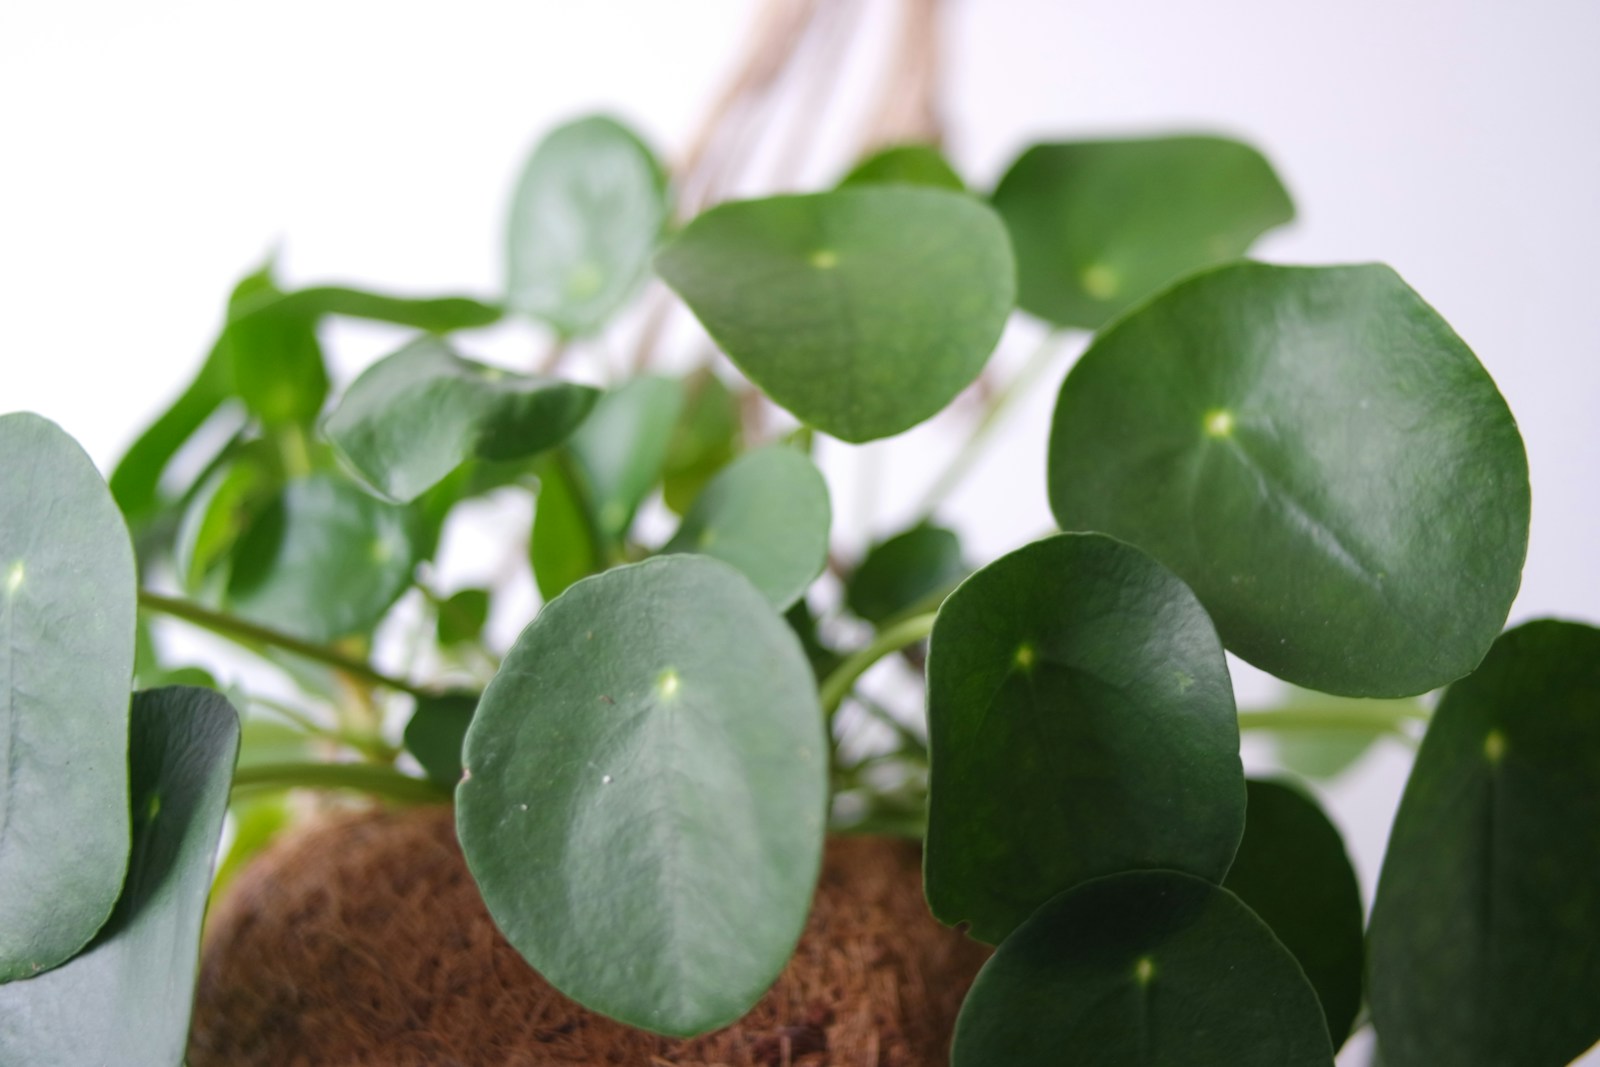
Pilea peperomioides, known as the Chinese money plant, is exceptionally easy to propagate with 90%+ success rates when proper techniques are used. This comprehensive guide combines practical methods with scientific insights to maximize your propagation success, whether you’re a beginner or experienced plant parent.
Understanding when your plant is ready
The key to successful propagation starts with recognizing the right timing. Your Pilea should be at least 6-12 months old with a well-established root system. Look for small plantlets (pups) appearing around the base that are 2-3 inches tall with 3-4 leaves, or stem offshoots growing directly from the main stem. The parent plant should display vibrant green leaves with no signs of stress or disease.
Optimal timing is spring through early summer during the active growing period, when success rates reach 85-95%. Winter propagation drops to just 40-50% success, making it the least ideal time unless you provide supplemental lighting.
The three proven propagation methods
Offset division: The gold standard method
Success rate: 90%+ – This is the most reliable technique favored by master gardeners.
Wait until offsets are 2-3 inches tall with visible leaves about the size of a dime. Carefully remove the entire mother plant from its pot and brush away soil to examine the root connections. Using a sterilized knife, make clean cuts at the connective root close to the mother plant, preserving as much of the pup’s root system as possible.
Plant the separated offset immediately in a small pot (3-4 inches) with well-draining soil mix. The ideal soil recipe combines 50% potting soil, 40% cactus mix, and 10% perlite. Water thoroughly and place in bright, indirect light.
Water propagation: Perfect for stem offshoots
Success rate: 80-85% – Excellent for beginners who want to observe root development.
Look for small plantlets growing directly from the main stem. These should “snap off” cleanly when gently pulled at the base. Place the cutting in a clean glass container with fresh, room-temperature water, ensuring only the stem base is submerged while keeping all leaves above water.
Change the water completely every week to prevent bacterial buildup. White, healthy roots typically appear within 7-10 days, with transplant-ready 1-2 inch roots developing in 10-14 days. The biological process follows four distinct stages: cell activation (0-3 days), cell division (3-7 days), root formation (7-14 days), and emergence (10-21 days).
Soil propagation: Direct and stable
Success rate: 70-75% – Slower initially but creates more resilient plants.
Take 3-4 inch stem cuttings with multiple nodes during the growing season. Place directly in well-draining potting mix and maintain consistent moisture without waterlogging. Cover with a plastic bag to maintain humidity during the critical first 2 weeks. Root establishment typically occurs within 4-6 weeks, with less transplant shock than water-propagated plants.
Environmental conditions that guarantee success
Temperature control is crucial: Maintain 65-75°F (18-24°C) during the day with night temperatures of 60-70°F. Bottom heat at 70-75°F can accelerate rooting when using heating mats.
Humidity management requires 85% relative humidity initially, gradually reducing to 60-70% as roots develop. Create humidity through grouping plants, humidity trays with pebbles and water, or light misting.
Light requirements include bright, indirect light for 12-16 hours daily. Optimal intensity ranges from 1000-2000 foot-candles. Direct sunlight causes leaf scorch and water stress, while insufficient light leads to 25% of propagation failures.
Timeline expectations and what to watch for
Weeks 1-2: Critical establishment period
Water-rooted cuttings show visible root development within 7-14 days. Soil propagations begin initial root establishment. Keep soil consistently moist but not waterlogged during this vulnerable phase.
Weeks 2-4: Root system development
Water propagations become ready for soil transfer when roots reach 1-2 inches. Soil propagations develop resistance when gently tugged, indicating root establishment.
Months 2-6: Active growth phase
Successful plants produce 2-3 new leaves monthly during growing season. New leaf growth is the clearest indicator of successful establishment. Plants may begin producing their own offsets if conditions are optimal.
Troubleshooting common problems
Rotting before rooting (40% of failures) typically results from overwatering. Use well-draining soil, ensure proper drainage holes, and change water every 3-5 days for water propagation. Add a small amount of hydrogen peroxide to water to prevent bacterial growth.
Slow or no root development often indicates insufficient light or wrong timing. Move to brighter locations and wait for the growing season. Yellowing leaves usually signal overwatering or normal transplant stress – reduce watering frequency and maintain consistent environmental conditions.
Curling or dropping leaves commonly occurs from oversized pots or environmental stress. Use appropriately sized containers (3-4 inches for new propagations) and avoid moving plants frequently during establishment.
Advanced techniques from plant experts
Professional horticulturists recommend creating a specialized propagation mix: 1 part fine vermiculite, 1 part coir, and 1 part fine compost. This provides optimal drainage while maintaining moisture retention.
Rooting hormone application at 0.1% IBA concentration can improve success rates for stem cuttings, though it’s not necessary for most Pilea propagations. Sterile technique is critical – always sterilize cutting tools with rubbing alcohol between uses.
Post-propagation care mastery
The first 1-2 weeks require intensive monitoring with consistent moisture and stable environmental conditions. Water-rooted plants need special attention during soil transition, as water roots are more delicate than soil-developed roots.
Gradual acclimation is essential. Start with small pots and increase size by only 1-2 inches as plants grow. Too-large containers increase overwatering risk and slow establishment. Begin monthly fertilization only after 4-6 weeks, using diluted liquid fertilizer at half strength.
Success indicators include firm, upright stems, rich green leaf color, new growth from the center, and resistance when gently testing plant stability. Warning signs include wilting despite adequate moisture, excessive yellowing, leaf drop, or soft, mushy stems indicating root rot.
The science behind successful propagation
Recent research reveals that Pilea propagation success depends on auxin-mediated adventitious root formation, with indole-3-acetic acid (IAA) serving as the master regulator. The optimal temperature range of 18-24°C supports consistent enzymatic activity, while specific humidity levels maintain open stomata for continued photosynthesis during the stress period.
Vapor pressure deficit (VPD) of 0.3 kPa (approximately 89% relative humidity) provides optimal conditions for root development. Understanding these scientific principles allows you to fine-tune environmental conditions for maximum success.
Maximizing your success
The most critical factors for propagation success are proper timing during the growing season, maintaining optimal environmental conditions, and using healthy, mature parent plants. Start with multiple propagations to increase your odds, maintain detailed records of timing and methods, and be patient during the establishment period.
Tool preparation should never be overlooked – sterilize all cutting implements with rubbing alcohol, use clean containers for water propagation, and maintain sanitary workspace conditions to prevent bacterial or fungal infections.
With these evidence-based techniques combining practical experience from master gardeners with recent scientific discoveries, you can achieve professional-level propagation success rates while building your collection of these delightful friendship plants.